Are you ready to discover the secrets of brewing the perfect cup of coffee with the Aeropress? Look no further! In this comprehensive Aeropress coffee guide, we will walk you through the techniques, tips, and methods for mastering the art of Aeropress coffee making in the comfort of your own home.
The Aeropress is a remarkable coffee maker designed by Alan Adler in 2004. Its compact and durable design allows for endless brewing possibilities, making it a favorite among coffee enthusiasts worldwide. By understanding the six essential brewing variables – coffee-to-water ratio, grind particle size, brew time, turbulence, water temperature, and water quality – you can unlock the full potential of the AeroPress to create a cup of coffee that suits your taste preferences.
Key Takeaways:
- Master the art of Aeropress coffee making with our comprehensive brew guide.
- Understand the key brewing variables to create a customized cup of coffee.
- Learn the difference between the traditional and inverted methods of brewing.
- Gather the necessary materials and equipment for a successful brewing session.
- Follow our step-by-step instructions for a perfect AeroPress coffee every time.
Traditional Method vs Inverted Method
When it comes to brewing coffee with the AeroPress, there are two main methods to choose from: the traditional method and the inverted method. Each method offers a unique brewing experience and brings out different flavors in the coffee.
The traditional method involves placing the AeroPress right-side up, with the filter at the bottom and the coffee grounds on top. Hot water is poured over the grounds, and then the plunger is used to push the water through the coffee, extracting the flavors. This method typically produces a clean and bright cup of coffee, perfect for those who prefer a lighter taste.
On the other hand, the inverted method flips the AeroPress upside down, with the plunger at the top and the coffee grounds at the bottom. The hot water is added to the chamber, and the AeroPress is then steeped for a longer period of time. This longer steeping time allows for more extraction of flavors and oils from the coffee, resulting in a more robust and flavorful cup.
Many coffee enthusiasts prefer the inverted method for its ability to extract more flavors and complexity from the coffee grounds. It offers a more intense and full-bodied taste experience, perfect for those who enjoy a stronger cup of coffee.
“The inverted method allows for a longer steeping time and produces a more robust and flavorful cup of coffee.”
Whether you’re using the traditional method or the inverted method, experimenting with different techniques and recipes can help you discover the perfect cup of coffee that suits your taste preferences. The AeroPress offers versatility and allows you to tailor your brew to achieve the desired strength and flavor.
Now that we understand the differences between the traditional and inverted methods, let’s move on to exploring the materials and equipment you’ll need to make the perfect AeroPress coffee.
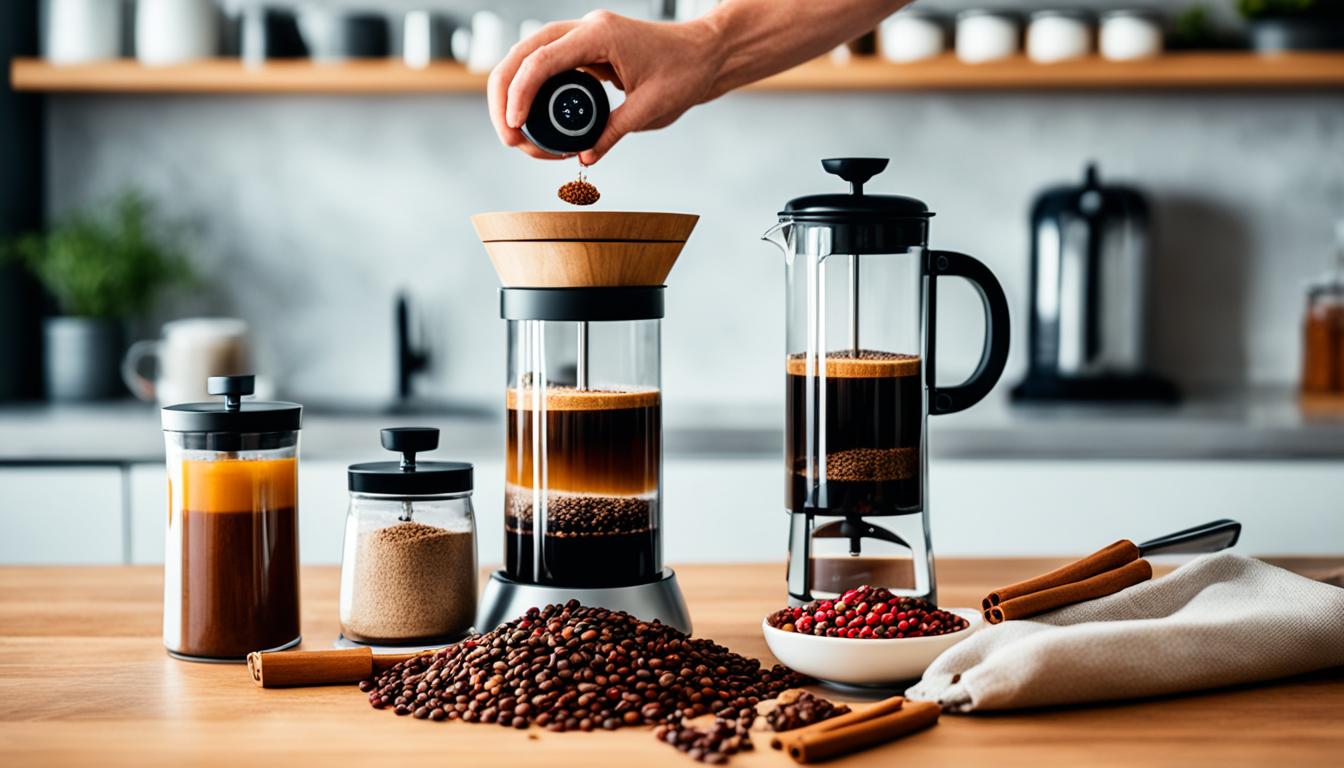
Materials and Equipment
When it comes to making coffee using the AeroPress Inverted Method, having the right materials and equipment is essential. Here’s a list of everything you’ll need:
- An AeroPress: This innovative coffee brewer is the heart of the brewing process.
- AeroPress filter: Choose either paper or metal filters based on your preference.
- Coffee grinder: Grind your fresh coffee beans to the desired consistency.
- Fresh coffee beans: Opt for high-quality beans for the best flavor.
- Hot water: Boil water to the recommended temperature range.
- Timer: Keep track of your brew time for consistent results.
- Coffee scale (optional but recommended): Achieve precision by weighing your coffee and water.
- Stirring spoon: Use it to agitate the coffee grounds for even extraction.
- Coffee mug: Choose a mug that suits your preferred serving size.
Before starting the brewing process, ensure that all your equipment and materials are clean and ready to use. This will contribute to the overall taste and quality of your AeroPress coffee.

Comparison: Paper Filters vs. Metal Filters
When it comes to AeroPress filters, you have the option of choosing between paper and metal filters. Let’s take a closer look at the characteristics and benefits of each:
| Paper Filters | Metal Filters |
|---|---|
| Provide cleaner cups of coffee | Allow more oils and body to pass through |
| Easier cleanup as the used filter can be discarded | Require thorough rinsing and cleaning after use |
| Inexpensive and widely available | Durable and reusable, with a long lifespan |
| May absorb some of the coffee oils and flavors | Result in a fuller-bodied and stronger coffee |
In terms of taste and convenience, both paper and metal filters offer unique advantages. It’s a matter of personal preference and experimentation to discover the one that suits your coffee brewing style best.
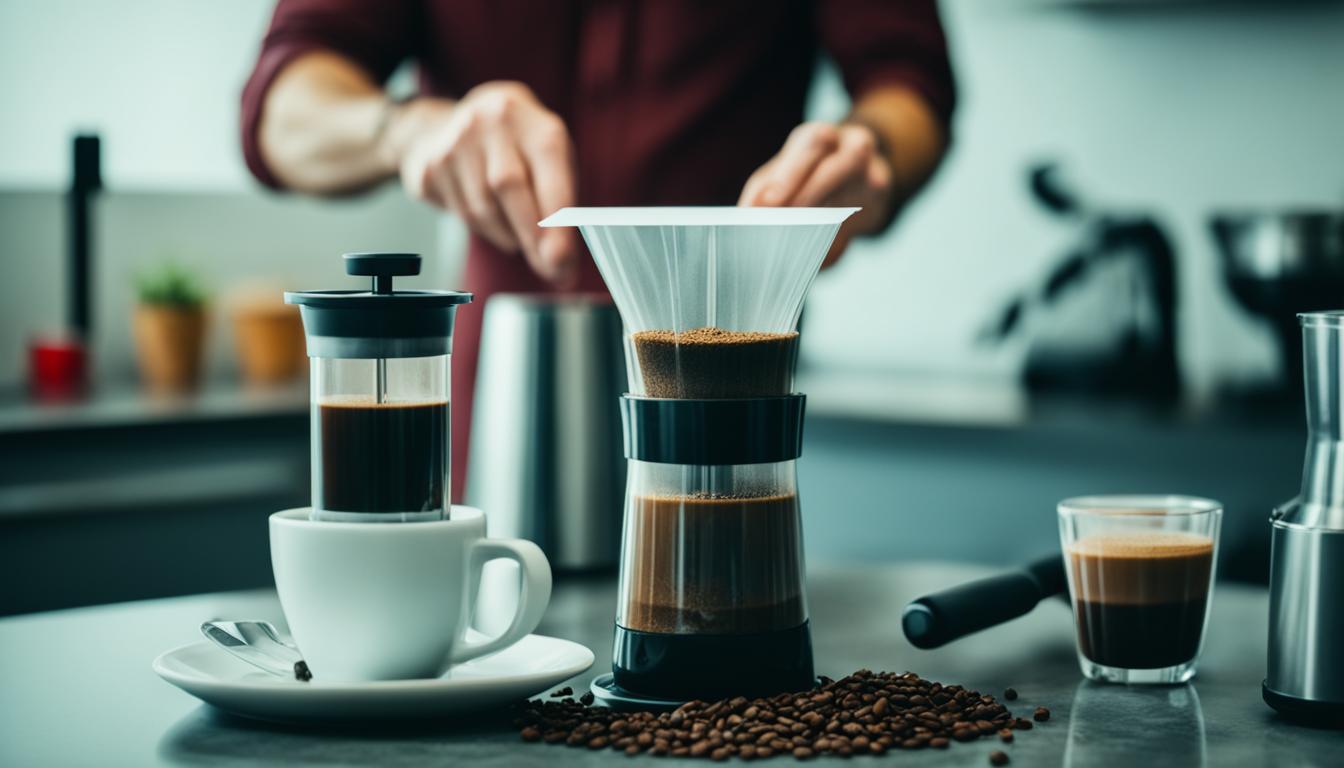
Preparation
Before brewing with the AeroPress Inverted Method, it’s important to properly prepare all the necessary components. Follow these steps:
- Cleaning AeroPress: Thoroughly clean the AeroPress to ensure no residue or flavors from previous use affect your coffee. Rinse it with hot water and scrub away any coffee oils or residue that may have accumulated.
- Boiling water: Boil water to the recommended temperature range. This will ensure optimal extraction and flavor from your coffee.
- Wetting AeroPress filter: Wetting the AeroPress filter helps remove any papery taste that might be present. Place the filter in the filter cap and pour some hot water over it. Let it sit for a few seconds, then discard the water.
- Grinding coffee beans: Grind fresh coffee beans to a medium-fine consistency. The grind size affects the flavor and strength of your coffee, so choose a grind that suits your taste preferences.
- Assembling AeroPress: Insert the wetted filter into the filter cap and twist it onto the brewing chamber. Make sure it is securely attached. Place the chamber upside down on a stable surface, such as a countertop or table, for easy pouring.
Following these steps will ensure that your AeroPress is clean, your water is at the right temperature, your filter is primed, your coffee beans are ground to perfection, and your device is assembled correctly for brewing.
In the next section, we will dive into the brewing process with the AeroPress Inverted Method.
Brewing
Now that we’ve prepared all the necessary materials and equipment, it’s time to dive into the AeroPress Inverted Method and start brewing our delicious coffee.
Here’s a step-by-step guide to help you navigate through the brewing process:
Step 1: Adding Coffee and Water
Start by adding your desired amount of fresh coffee grounds to the AeroPress chamber. Use a medium-fine grind for optimal extraction. Next, pour hot water into the chamber, making sure to cover all the coffee grounds. Use water within the recommended temperature range for the best results.
Step 2: Agitating the Mixture
Once you’ve added the hot water, give the mixture a gentle stir using a spoon or paddle. This will ensure even saturation of the coffee grounds and promote consistent extraction of flavors. Take your time with this step to allow the aroma of the coffee to bloom.
Step 3: Steeping Time
Now, it’s time to let the coffee steep and develop its flavors. The steeping time can vary depending on your preference, but a general guideline is around 1 to 2 minutes. Feel free to experiment with different steeping times to discover your perfect brew.
Step 4: Attaching the Cap and Flipping the AeroPress
With the allotted steeping time complete, wet the filter and attach it to the cap. Then, securely twist the cap onto the AeroPress chamber. Now, carefully flip the entire AeroPress assembly onto a coffee mug or server. Make sure to hold it steady to avoid any spills.
Step 5: Pressing the Coffee
Now comes the satisfying part – pressing the coffee. Gently push down on the plunger with even pressure, steadily forcing the brewed coffee through the filter and into the mug below. Take your time with this step to extract all the delicious flavors from the coffee grounds.
Step 6: Enjoying the Coffee
Once you’ve completed the pressing process, remove the AeroPress from the mug and set it aside. Take a moment to appreciate the enticing aroma and rich flavors of your freshly brewed coffee. Savor each sip and indulge in the delightful experience that the AeroPress Inverted Method brings.
Now that you’ve successfully brewed your coffee using the AeroPress Inverted Method, it’s time to sit back, relax, and enjoy your cup of joe. Whether you prefer a bold and robust brew or a smoother and more delicate flavor profile, the AeroPress Inverted Method allows for endless experimentation and customization. Cheers to your newfound coffee-making expertise!
Cleanup and Maintenance
After brewing with the AeroPress Inverted Method, it’s important to properly clean and maintain your equipment to ensure optimal performance and longevity. Follow these steps to clean and store your AeroPress:
- Discard Coffee Grounds: Start by discarding the used coffee grounds. Remove the cap and plunger from the brewing chamber, then firmly press the plunger to eject the coffee grounds into a compost bin or trash can.
- Disassemble AeroPress: Separate the brewing chamber, plunger, and filter cap. Gently twist and pull to separate the components.
- Rinse Parts: Rinse all the parts with hot water to remove any remaining coffee residue. This will help maintain the integrity of the materials and prevent any lingering flavors from affecting future brews.
- Dry AeroPress: Thoroughly dry all the parts with a clean towel or let them air dry. Ensure that there is no moisture left on the surfaces of the AeroPress, as it can lead to mold or degradation over time.
- Store AeroPress: Once the AeroPress is completely dry, assemble the components and store them in a dry and cool place. This will protect the equipment from any potential damage or exposure to heat or moisture.
- Replace Filter: It’s important to replace the filter after each use to maintain the quality of your brews. Regularly check the condition of the filter and replace it as needed.
By following these cleaning and maintenance practices, you can ensure that your AeroPress is always ready to brew the perfect cup of coffee.

| Step | Description |
|---|---|
| 1 | Discard coffee grounds by pressing the plunger to eject the grounds. |
| 2 | Disassemble the AeroPress by separating the brewing chamber, plunger, and filter cap. |
| 3 | Rinse all the parts with hot water to remove coffee residue. |
| 4 | Dry all the parts thoroughly to prevent moisture buildup. |
| 5 | Store the AeroPress in a dry and cool place to protect it from damage. |
| 6 | Replace the filter after each use to maintain brewing performance. |
Conclusion
In conclusion, the AeroPress Inverted Method is a game-changer for coffee enthusiasts looking to elevate their brewing experience. With this technique, you have the power to create a cup of coffee that is robust, flavorful, and tailored to your taste preferences. By understanding and manipulating variables such as the coffee-to-water ratio, grind size, brew time, and water temperature, you can experiment with different recipes and techniques to unlock new flavors and complexities.
Proper cleanup and maintenance are vital to ensure the longevity of your AeroPress. By discarding used coffee grounds, thoroughly rinsing the parts, and drying them before storage, you can keep your AeroPress in top-notch condition for years to come. Additionally, don’t forget to replace the filter after each use to guarantee optimal brewing performance.
Mastering the art of AeroPress coffee making at home is an exciting journey filled with endless possibilities. So go ahead and unleash your inner barista. Let your creativity flow and enjoy the process of brewing delicious cups of coffee with the AeroPress Inverted Method. Cheers to your perfect cup!
FAQ
What is the AeroPress Inverted Method?
The AeroPress Inverted Method is a brewing technique where the AeroPress is flipped upside down to allow for a longer steeping time and a more robust and flavorful cup of coffee.
What equipment do I need for the AeroPress Inverted Method?
To brew coffee using the AeroPress Inverted Method, you’ll need an AeroPress, either paper or metal filters, a coffee grinder, fresh coffee beans, hot water, a timer, a coffee scale (optional but recommended), a stirring spoon, and a coffee mug.
How do I prepare the AeroPress before brewing?
Before brewing with the AeroPress Inverted Method, ensure that the AeroPress is clean and rinsed with hot water. Boil the water to the recommended temperature range and wet the AeroPress filter to remove any papery taste. Grind fresh coffee beans to a medium-fine consistency and assemble the AeroPress by inserting the filter and twisting it onto the brewing chamber.
How do I brew coffee using the AeroPress Inverted Method?
To brew coffee using the AeroPress Inverted Method, start by adding coffee grounds to the chamber and pouring hot water over the grounds. Agitate the mixture to ensure even saturation and steep the coffee for the desired time. Attach the cap with the wet filter, flip the AeroPress onto a coffee mug, and press the plunger gently to extract the coffee.
How should I clean and maintain the AeroPress after brewing?
After brewing with the AeroPress Inverted Method, discard the used coffee grounds and filter, disassemble the AeroPress, and rinse all the parts with hot water. Use a sponge or brush to remove any coffee residue, and dry all the parts thoroughly before storing them in a dry and cool place. Replace the filter after each use for optimal brewing performance.
What is the advantage of the AeroPress Inverted Method?
The AeroPress Inverted Method allows for a more robust and flavorful cup of coffee compared to the traditional method. By flipping the AeroPress upside down, you can extend the steeping time and extract more flavors and complexity from the coffee grounds.