Welcome to our Moka Pot Mastery guide! If you’re a coffee enthusiast looking to elevate your home brewing game, then you’ve come to the right place. With our step-by-step tutorial, we’ll unlock the secrets of crafting the perfect espresso using a Moka pot, the beloved Italian coffee maker.
At [Your Brand Name], we believe that brewing espresso at home should be an enjoyable and rewarding experience. That’s why we’ve put together this comprehensive guide, sharing our knowledge and expertise to help you become a master espresso brewer right in your own kitchen.
Whether you’re new to home brewing or a seasoned barista, our guide will walk you through each step of the process, ensuring precision and quality in every cup of espresso you brew. From preheating the machine to dosing and grinding the coffee, we’ve got you covered.
Key Takeaways:
- Learn the art of brewing perfect espresso with a Moka pot.
- Preheat your machine to maintain optimal water temperature.
- Check the roast date for the freshest and most flavorful coffee.
- Dose and grind your coffee to the right specifications for a balanced brew.
- Prep the portafilter and tamp the coffee for even water flow.
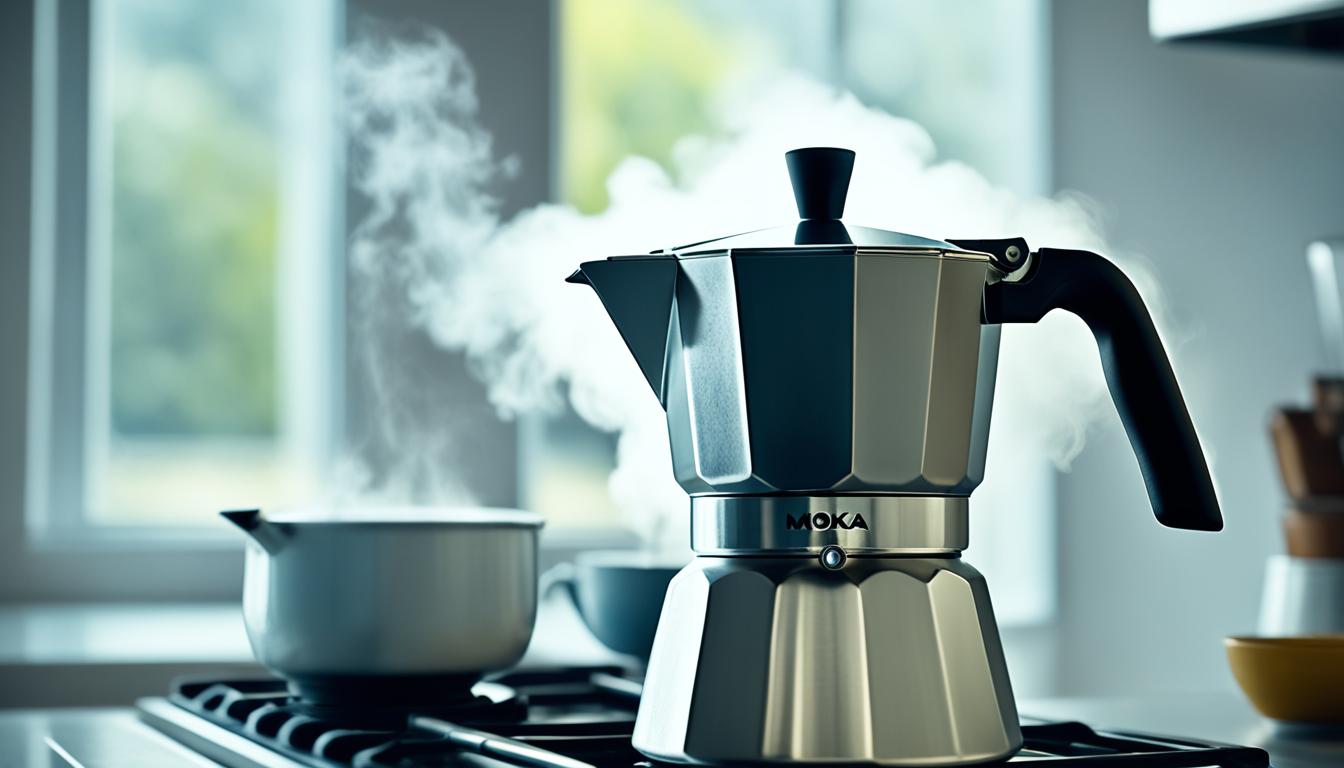
Preheating the Machine
To ensure the optimal water temperature for the espresso extraction process, it is essential to preheat your espresso machine. Home-based machines typically require 15-45 minutes to heat up properly. By allowing your machine to heat up, you can avoid compromising the water temperature, which is a crucial variable in the espresso extraction process. This ensures that the coffee grounds are evenly saturated and extracted, resulting in a rich and flavorful espresso.
During the preheating process, it’s important to pay attention to the water temperature. Ideally, the water should reach a range between 195°F – 205°F (90°C – 96°C) for the best extraction. This temperature range allows for optimal flavor extraction from the coffee grounds, balancing the flavors and aromas to create a perfect cup of espresso.
Preheating the machine not only helps maintain the desired water temperature but also contributes to the overall consistency of your brewing routine. Consistency is key when it comes to brewing espresso, as it allows you to replicate the same great taste every time you brew.
The Importance of Water Temperature
“Water temperature is a crucial factor in the espresso extraction process. It affects everything from the flavor and aroma to the overall quality of the espresso. Preheating the machine ensures that the water temperature remains consistent, allowing for a balanced and flavorful extraction.”
| Water Temperature (°F) | Extraction Quality |
|---|---|
| Below 185°F | Poor extraction, under-extracted flavors |
| 185°F – 195°F | Acceptable extraction, some balance of flavors |
| 195°F – 205°F | Optimal extraction, balanced flavors, and aromas |
| Above 205°F | Potentially over-extracted, bitter flavors |
By preheating your machine and ensuring it reaches the optimal temperature, you set the foundation for a successful espresso brewing process. This step enhances the overall extraction, allowing the coffee oils and soluble compounds to be properly released, resulting in a full-bodied and delicious espresso.
The Espresso Extraction Process
“The espresso extraction process is a delicate dance between the water and the coffee grounds. By preheating the machine, you set the stage for a harmonious and consistent extraction, ensuring that every drop of espresso is bursting with flavor.”
During extraction, hot water is forced through the coffee grounds, dissolving and extracting the coffee’s flavor compounds. The temperature of the water plays a vital role in the extraction process, as different compounds are released at various temperatures. By following proper preheating techniques, you can maintain the ideal water temperature throughout the extraction, leading to a balanced and flavorful espresso.
Checking the Roast Date and Resting Coffee
When it comes to achieving the best flavor in your espresso, the roast date of your coffee is crucial. As coffee beans age, they undergo chemical changes that affect taste and aroma. To ensure that your espresso tastes its best, it’s essential to check the roast date of your coffee.
Roasters recommend different resting times for coffee to reach its optimal flavor window. Resting allows the coffee to de-gas and rid itself of negative compounds created during the roasting process. Some roasters suggest resting times of up to 2 weeks, allowing the flavors to develop and harmonize.
By checking the roast date and allowing your coffee to rest, you can unlock the full potential of its flavors. This process ensures that every cup of espresso you brew is rich, balanced, and bursting with delightful notes.
Remember, freshness matters, and checking the roast date is an essential step towards brewing the perfect cup of espresso.
Benefits of Checking the Roast Date and Resting Coffee
- Optimal flavor development
- Reduction in undesirable compounds
- Enhanced balance and complexity in taste
“Checking the roast date and allowing coffee to rest is like giving it the time it needs to reach its full potential. It’s the key to unlocking a world of exceptional flavors in every sip.” – Coffee Enthusiast Magazine

The Optimal Flavor Window
Understanding the optimal flavor window is essential for coffee enthusiasts and aficionados. It refers to the period during which the coffee’s flavors are at their peak and most vibrant. The flavors are fully developed and offer the best sensory experience.
The optimal flavor window varies depending on factors such as roast level, origin, and the specific coffee bean’s characteristics. Generally, freshly roasted coffee needs time to degas before reaching its optimal flavor window. The resting period allows the flavors to mellow, harmonize, and intensify.
| Coffee Roast Level | Optimal Flavor Window |
|---|---|
| Light Roast | 1-2 weeks |
| Medium Roast | 1 week |
| Dark Roast | 3-7 days |
As a coffee enthusiast, it’s worth experimenting with different resting times to find your preferred flavor profile. Keep track of the roast dates and tasting notes to understand how different resting periods affect the flavor of your espresso.
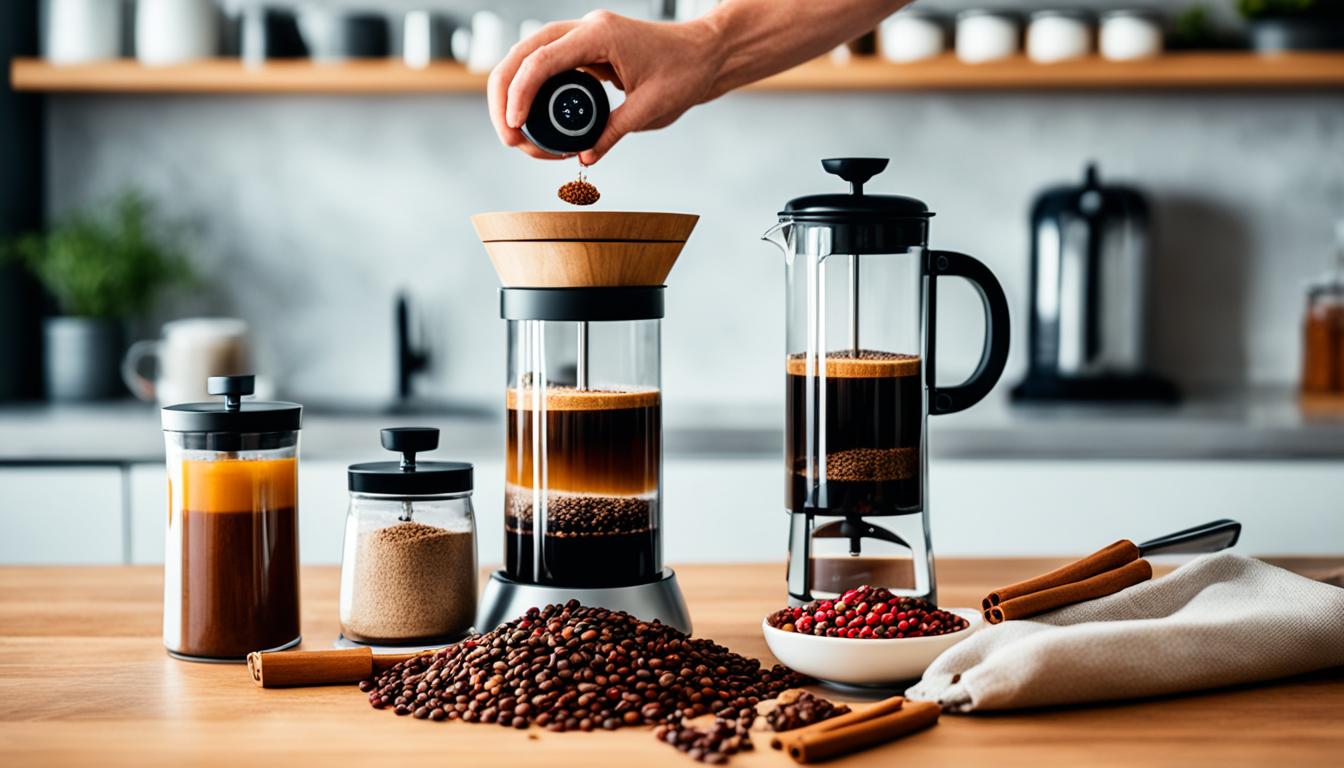
Dosing and Grinding the Coffee
When it comes to brewing espresso, getting the right dosing and grind size is crucial. We want to ensure that every cup of espresso we brew is full of flavor and aroma. Let’s take a closer look at the dosing and grinding process to achieve optimal results.
For a standard espresso, a general parameter is using 18g of coffee in and extracting 36g of espresso out, with a shot time of 25-35 seconds. This ratio provides a balanced extraction and a well-rounded flavor profile.
Grinding your coffee just before brewing is essential to preserve the freshness and enhance the overall taste. The optimal grind size can vary depending on the coffee beans and the desired flavor profile. It’s important to note that different coffees require different grind sizes.
Optimal Grind Size
When determining the optimal grind size, consider the flavors you want to highlight in your espresso. A finer grind size is ideal for sour or fruity coffee, as it increases the extraction rate and enhances the bright and acidic flavors. On the other hand, a coarser grind is suitable for coffee with a more bitter taste, as it decreases the extraction rate and reduces the intensity of bitterness.
Here’s a quick reference guide for grind size based on flavor profiles:
| Flavor Profile | Optimal Grind Size |
|---|---|
| Sour or Fruity | Finer Grind |
| Smooth or Balanced | Medium Grind |
| Bitter or Dark Chocolate | Coarser Grind |
Remember, taste is subjective, so it’s always recommended to experiment with different grind sizes to find your preferred flavor.
With the right dosing and grind size, you can unlock the full potential of your espresso beans and enjoy a delightful cup of espresso with rich flavors and aromas. In the next section, we’ll explore the next step in the brewing process: prepping the portafilter and tamping the coffee.
Prepping the Portafilter and Tamping the Coffee
In order to achieve consistent and evenly extracted espresso, it is important to properly prep the portafilter and tamp the coffee grounds. This ensures that the water flows through the coffee evenly, extracting the full flavor and aroma.
Start by placing the freshly ground coffee into the portafilter basket. Make sure to distribute the coffee grounds evenly, ensuring that there are no clumps or uneven patches. This will help to promote an even extraction.
Next, it’s time to tamp the coffee. Use a tamper to firmly press down the coffee grounds in the portafilter. Apply consistent and level pressure to create a firm and even coffee bed. This will help to prevent channeling and ensure the water passes through the coffee evenly.
Consistency is key when it comes to tamping. Make sure to maintain the same pressure and technique every time you tamp. This will help to ensure that you achieve consistent results with each shot.
Higher quality grinders can play a role in achieving a more even and fluffy coffee bed. A high-quality grinder will produce more uniform coffee grounds, resulting in improved extraction and flavor.
If you want to take your tamping consistency to the next level, consider using a WDT (Weiss Distribution Technique) tool. This tool helps to break up any clumps and distribute the coffee grounds more evenly. By using a WDT tool, you can further enhance the consistency of your tamping and the overall quality of your espresso shots.
Tamping Tips:
- Make sure to use a tamper that is the correct size for your portafilter basket.
- Apply consistent and level pressure when tamping.
- Check for any uneven spots in the coffee bed and correct them before brewing.
- Experiment with different tamping techniques to find what works best for you.
By properly prepping the portafilter and tamping the coffee, you can ensure that you achieve consistent results and a high-quality espresso shot every time you brew.

Brewing and Stopping the Extraction
Once the portafilter is prepped and tamped, we can start the brewing process. Attach the portafilter to the machine’s group head and begin the extraction. The espresso should flow out as a steady stream with a thick layer of crema on top.
Stop the extraction manually once you have reached the desired volume of espresso in your cup or shot glass. This manual extraction stop allows you to have control over the strength and flavor of your espresso.
Conclusion
By mastering the art of Moka pot brewing, you can become your own barista and enjoy the perfect cup of homemade espresso. With the right equipment, attention to detail, and knowledge of barista techniques, you can unlock the secrets of perfect espresso brewing and savor every sip from the comfort of your own kitchen.
Embrace the journey of perfecting your technique and let the aroma of freshly brewed espresso fill your home. The Moka pot offers a convenient and affordable way to experience the richness and depth of flavors that espresso has to offer.
Remember, the key to achieving the perfect espresso lies in preheating your machine, using freshly roasted coffee, dosing and grinding correctly, prepping the portafilter, and executing a controlled brewing process. With practice and experimentation, you can tailor your brew to suit your taste preferences and enjoy your very own personalized cup of espresso.
FAQ
How long does it take to preheat a Moka pot machine?
Preheating a Moka pot machine typically takes between 15 to 45 minutes to ensure optimal water temperature for the espresso extraction process.
Why is it important to check the roast date of the coffee?
Checking the roast date is crucial for achieving the best flavor in your espresso. Resting the coffee allows it to de-gas and reach its optimal flavor window, which may take up to 2 weeks after roasting.
How much coffee should I use and what grind size is best for espresso brewing?
A general parameter for brewing espresso is 18g of coffee in and 36g of espresso out, with a shot time of 25-35 seconds. Grind the coffee just before brewing and adjust the grind size accordingly – finer for sour coffee and coarser for bitter coffee.
What is the key to prepping the portafilter and tamping the coffee grounds?
Properly prepping the portafilter and evenly tamping the coffee grounds ensure even water flow through the coffee. Use a tamper to firmly press down the grounds, aiming for consistency and level tamping.
How do I start the brewing process with a Moka pot?
Once the portafilter is prepped and tamped, attach it to the machine’s group head and start the extraction process. The espresso should flow out as a steady stream with a thick layer of crema on top. Manually stop the extraction once you have reached the desired volume of espresso.
What can Moka pot brewing teach me about being my own barista?
Mastering the art of Moka pot brewing allows you to become your own barista and enjoy the perfect cup of homemade espresso. With the right equipment and knowledge of the brewing process, you can unlock the secrets of Moka Pot Mastery and brew espresso like a pro.